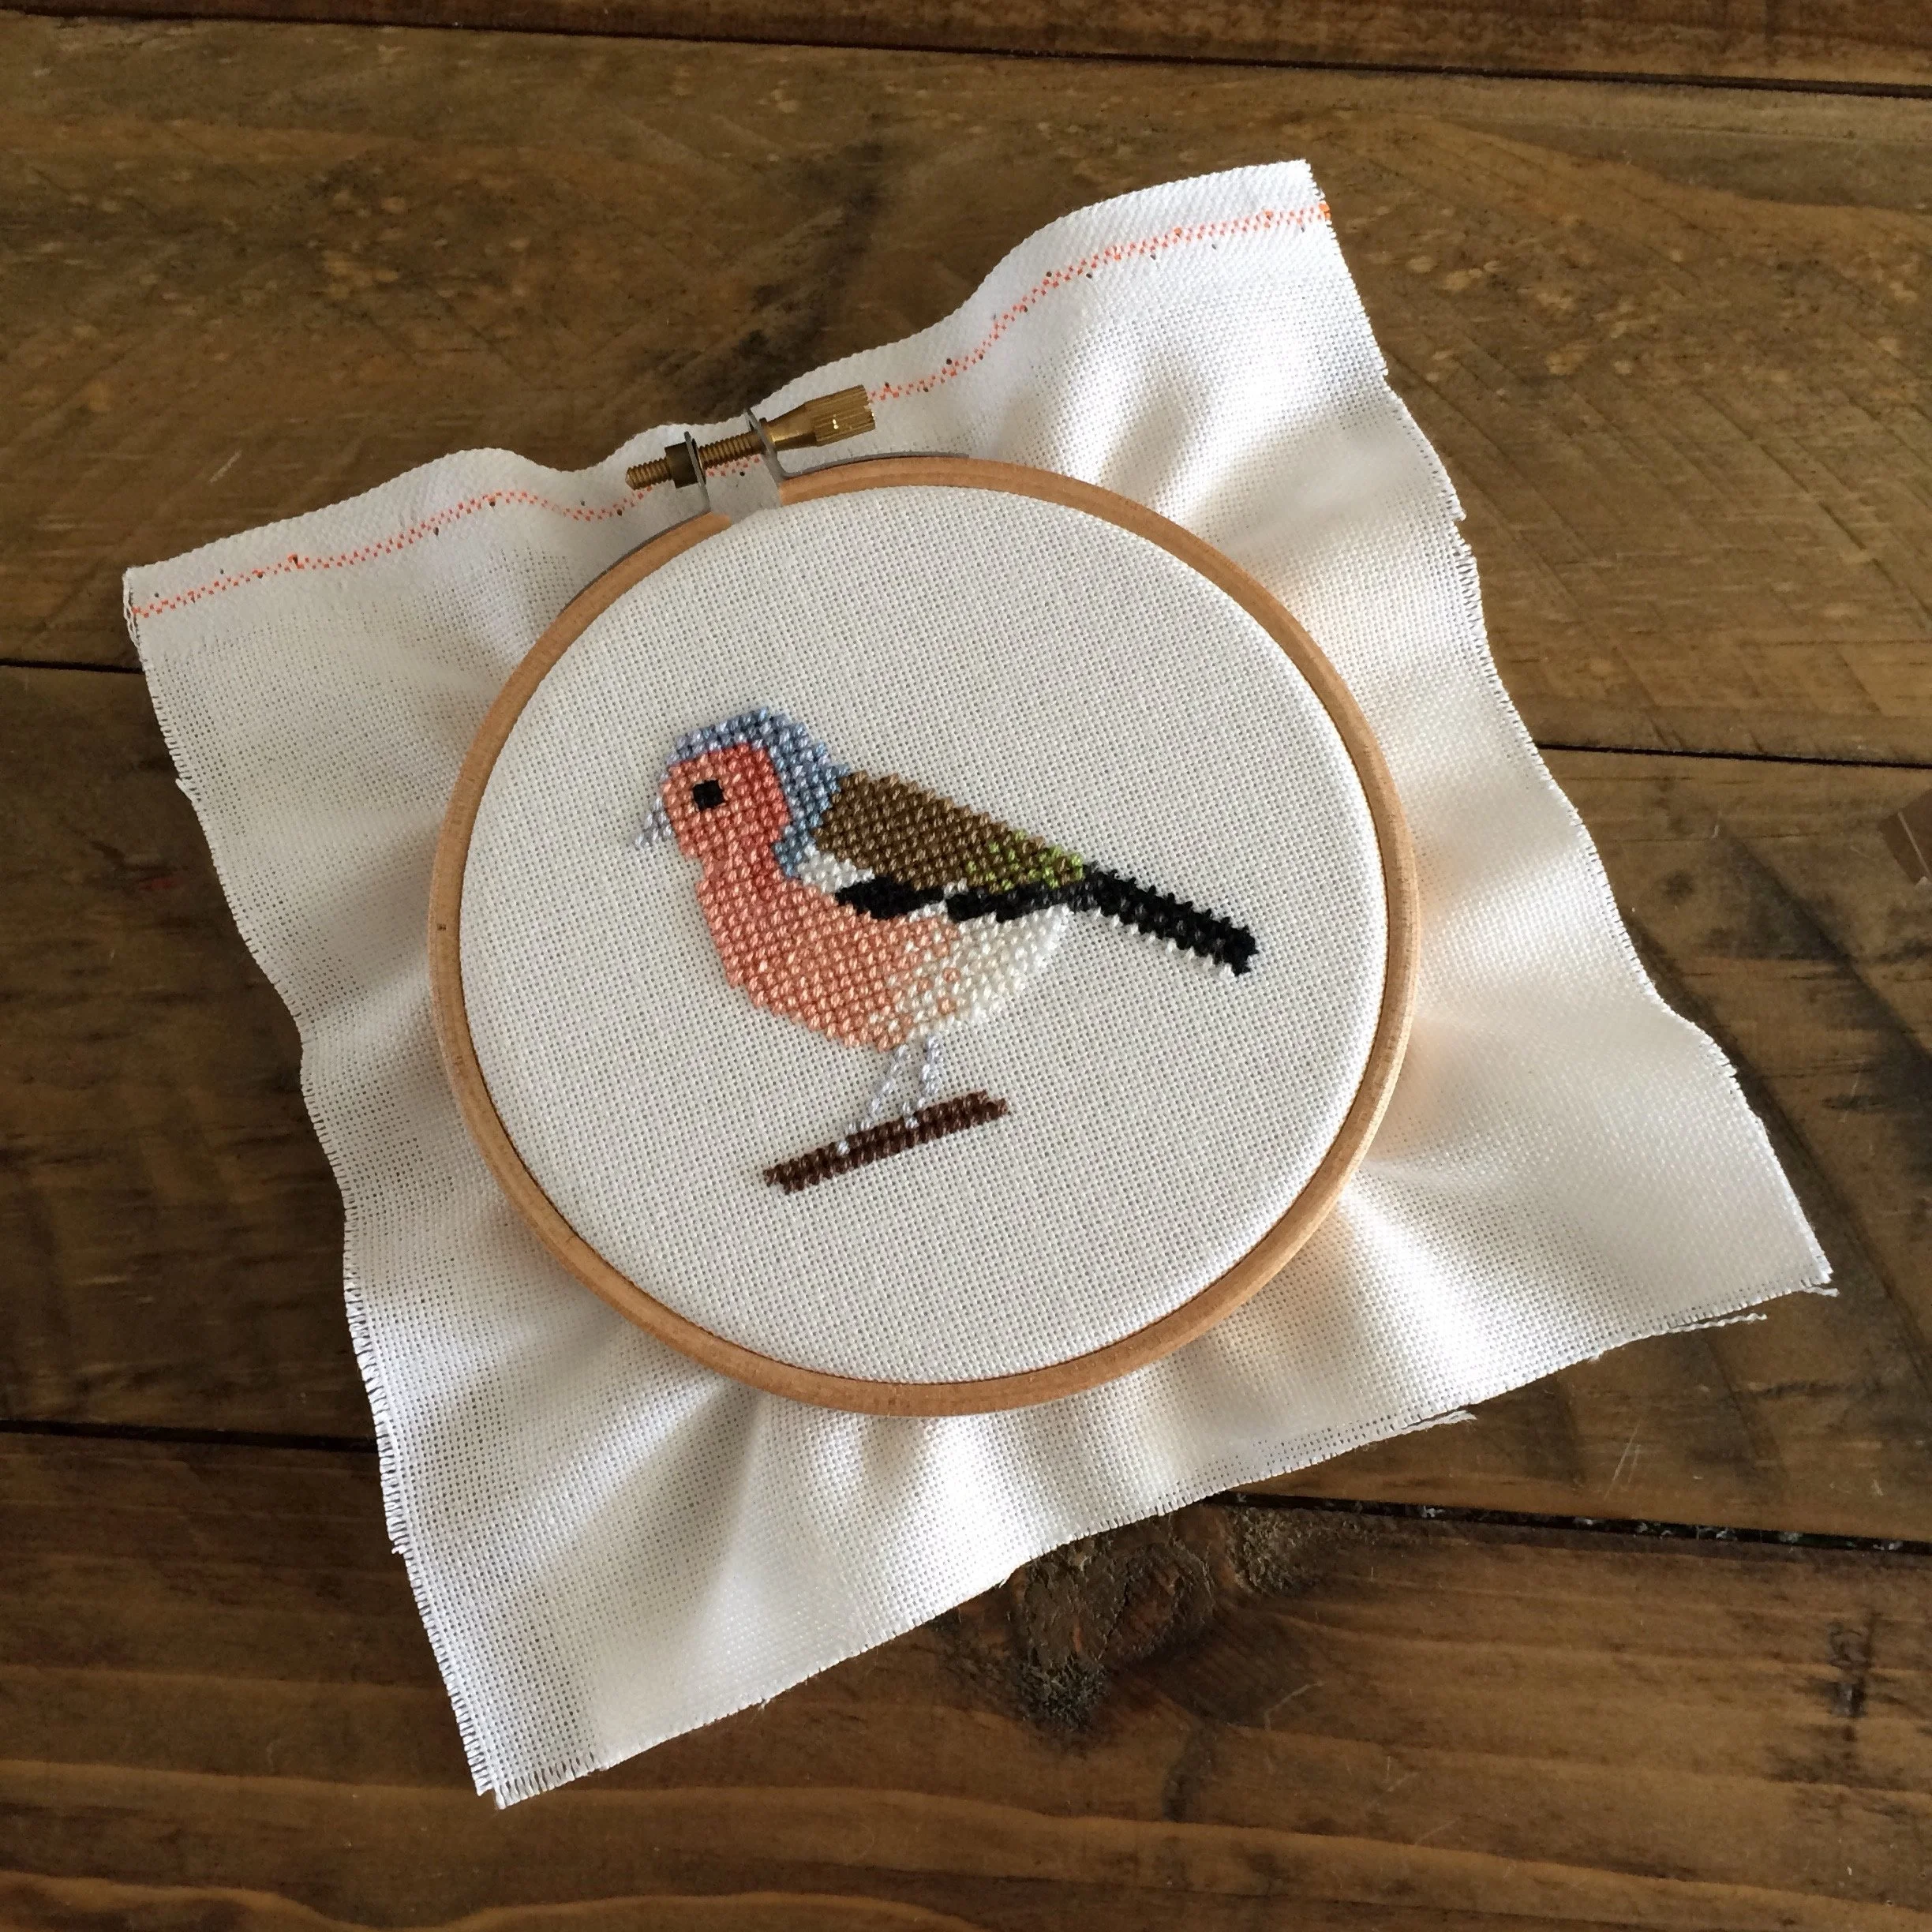
How to frame your cross stitch in a hoop (glue method)
How do you frame your cross stitch projects in a hoop?
There are several methods you can use to frame cross stitch in an embroidery hoop and it will be a matter of personal preference which you decide to use.
In this tutorial I’m going to show you how to frame your projects in a wooden hoop using the gluing method.
You will need: your finished project, backing fabric, a wooden embroidery hoop and craft glue.
For backing fabric I use plain calico. This is ideal as it’s a strong but flexible fabric and won’t show through your project. Cut a piece of your chosen backing fabric that’s the same size as your finished project.
Next, separate the inner and outer rings of the hoop by loosening the screw.
Apply a thin line of glue around the edge of the inner hoop
It’s important to use the right type of glue. I used an all-purpose craft glue that can be use on a variety of surfaces. The above photo shows you how much glue to apply. You need to complete the next step before the glue dries.
Place backing fabric over the inner hoop.
Place the backing fabric over the inner hoop and then place the outer ring over the top. Gently pull the edges of the fabric until it is taut. Tighten the screw to hold the outer ring in place while the glue dries. Don’t remove the the outer hoop until the glue is dry.
When the first layer of glue is dry, remove the outer hoop
When the first layer of glue is dry remove the outer ring. Next, apply a thin line of glue around the part of the backing fabric that is attached to the inner ring. The photo above shows you how much you should use. If you use too much it can leak through to the front of your project or around the edges of the hoop, so to avoid a messy appearance take care to only use as much glue as you need to secure the fabric.
Before the glue dries, place your finished project over the inner ring and backing fabric.
An easy way to frame your cross stitch projects.
Place the outer ring over the top and tighten, but not too much. Like you did with the backing fabric, gently pull the edges of your project until it is taut. Tighten the hoop a little more and leave until the glue is dry.
When that layer of glue is dry you can decide if you want to glue the outer ring in place or not. I chose not to in case I need to adjust its position.
Trim away the excess fabric
When the glue is dry, carefully trim away the excess fabric, cutting close to the hoop.
My collection of cross stitch bird projects
I have framed many of my small bird hoops in this way and I’ve been happy with the results. You do need to be careful how you store glued hoops because if the fabric is pushed out of shape or sags you can’t tighten it again. When my hoops aren’t on display I keep them carefully stacked in a box, so that no pressure is put on the fabric.
I hope you found this tutorial helpful. If you’d like to stitch any of my bird patterns you can find them here.
I also have kits available here.
Happy stitching!


